Showing posts with label WireKnitZ. Show all posts

Monday, September 17, 2012

Free Tutorial - Queen Victoria Cuff


 Queen Victoria Cuff
By Eva Marie Sherman

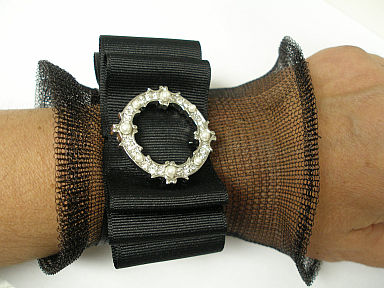
WireKnitZ® makes a beautiful canvas for vintage themed creations and you’ll feel as elegant as the Queen in this dramatic cuff!  Create the cuff, finish it with hand stitched grosgrain ribbon, and add a vintage pin for drama!

MATERIALS AND TOOLS
1 – 9” 3000 Series WireKnitZ®
Fireline® 4 lb. braided beading thread
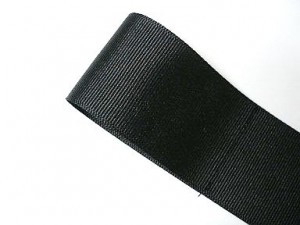
2 – 6” x .5” Grosgrain Ribbon
1 – 30” x 1.5” Grosgrain Ribbon
3 – Sew-On Snaps
1 – Vintage Pin
Scissors
Tape Measure
Fabri-Tac™
Sewing Needle

STEP 1
Fold ribbon in half and make a seam 2” away from the fold
STEP 2
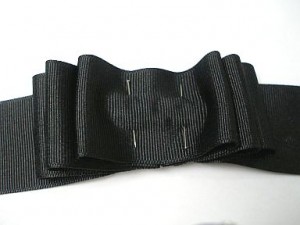
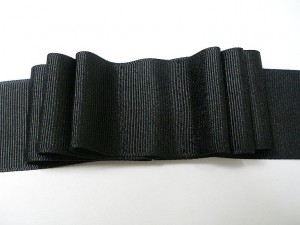
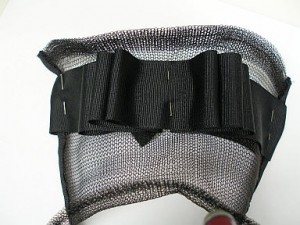
Open ribbon and make three folds on each side. Pin and then stitch in place.
STEP 3
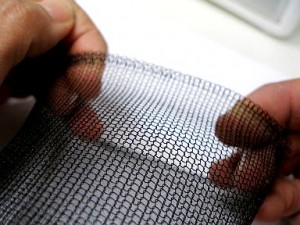
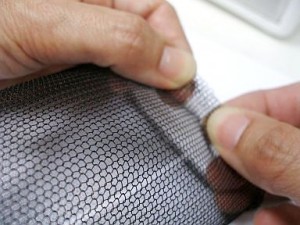
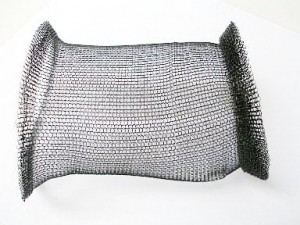
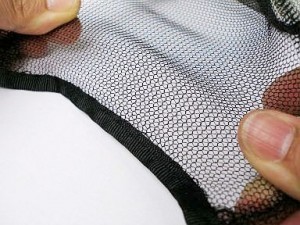
Open WireKnitZ® tube and gently massage folded edges until smooth. At one end, gently pull outward with fingers until the end begins to roll outward and then roll three times to measure about ¼” wide. Press the roll down with fingers all the way around, burying the cut end. Repeat at opposite end.
STEP 4
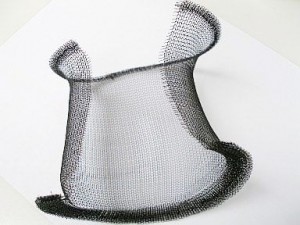
Stretch each end to get a slight bell shape. Stitch rolled ends in place, if desired, though it is not necessary.
STEP 5
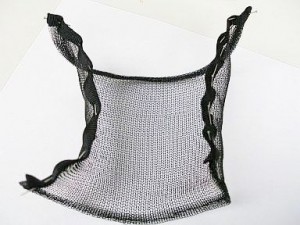
Make a cut down the length of the tube. Fold the 1/2” grosgrain ribbon in half lengthwise and pin in place along the cut edge of the WireKnitZ® tube. Tip: Before pinning to WireKnitZ®; create a soft crease in the grosgrain ribbon by gently ironing with a light weight towel to protect the ribbon.
STEP 6
Measure your wrist and size WireKnitZ® 1” larger than your wrist size. Depending upon wrist size, WireKnitZ® may be made larger by stretching width at ribbon edges, or made smaller by stretching length at rolled edges. To stretch, grasp opposing edges and gently pull, moving fingers along edges. Keep moving fingers around and pulling as WireKnitZ® begins to adjust in size. When the sheet is the correct size, stop stretching. A bit of trial and error may be required.
STEP 7
Line up the center of the tri-folded 1.5” grosgrain with the center of the WireKnitZ®, approx. ¾” from the top roll and pin centers together. Pin rest of ribbon in place, folding edges of ribbon under twice. Tip: Use Fabri-Tac to secure ends of ribbon.
STEP 8
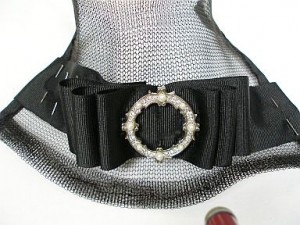
Stitch grosgrain ribbon in place. Secure vintage pin at center of tri-folded ribbon.
STEP 9
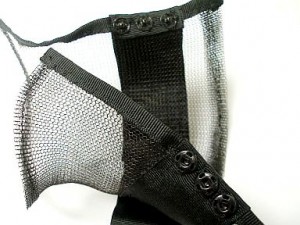
Stitch sew-on snaps in place as shown.
Enjoy the complements!

Friday, July 13, 2012

YOJ Week 28 - The Chained Convertible Cuff

While I was at Bead and Button, Norma Melton, the founder of WireKnitZ did a video on "The Convertible Cuff" which is designed with the 3000 series of WireKnitZ. I had some brass chain that was a perfect fit over the cuff and a perfect match to the brass magnetic closure. So I chained it up and Voila! What do you think?


Tuesday, February 7, 2012

Au Revoir Tucson!

I had the best time and can't wait to see you again next year! I could've done without the camera enforced speeding ticket, but otherwise super enjoyed my 10 days here. Oh, and I only lost my wallet once and my keys twice, some kind of a record for me, usually I loose the cell phone a couple times too.  :-)

Here are a few more high lights from the past week and a half....

Teaching the WireKnitZ Crossover Cuff at To Bead True Blue.


Shopping at Motel Row where I always find the coolest stuff, check out this stash of roman glass!

 My new gemmy friend, Szarka of Magpie Gemstones.

Meeting tool guy Kevin Potter and ordering a custom made hydraulic press with a purple powder coat finish....I swear I almost swooned....


Heading home sweet home, always one of my favorite parts of a trip! :-)


Tuesday, September 27, 2011

If only I could get my act together.....

I was planning to enter the Jewel School Design Contest, I spent hours conceptualizing and creating a design around the theme "Crystal Cornucopia" and came up with a piece I really liked. A lot of jewelry I make is more of an artistic challenge, rather than something I would actually wear, but this one I'm already planning my Thanksgiving outfit around.

So I finished Sunday afternoon, patted myself on the back for getting done early and called it a day.  Heading home from the studio, I figured I would come in Monday morning, do the photo shoot with a fresh eye and submit in plenty of time for the Monday midnight deadline. Except the deadline was Sunday midnight....

RATS!!!!

I emailed Monday when I realized my oversight but was told very politely, nope, sorry, you can't submit beyond the deadline, that's why they're called deadlines. I was hoping they might have a moron exception clause, but alas, no....

So here's my creation, all dressed up and nowhere to go....